
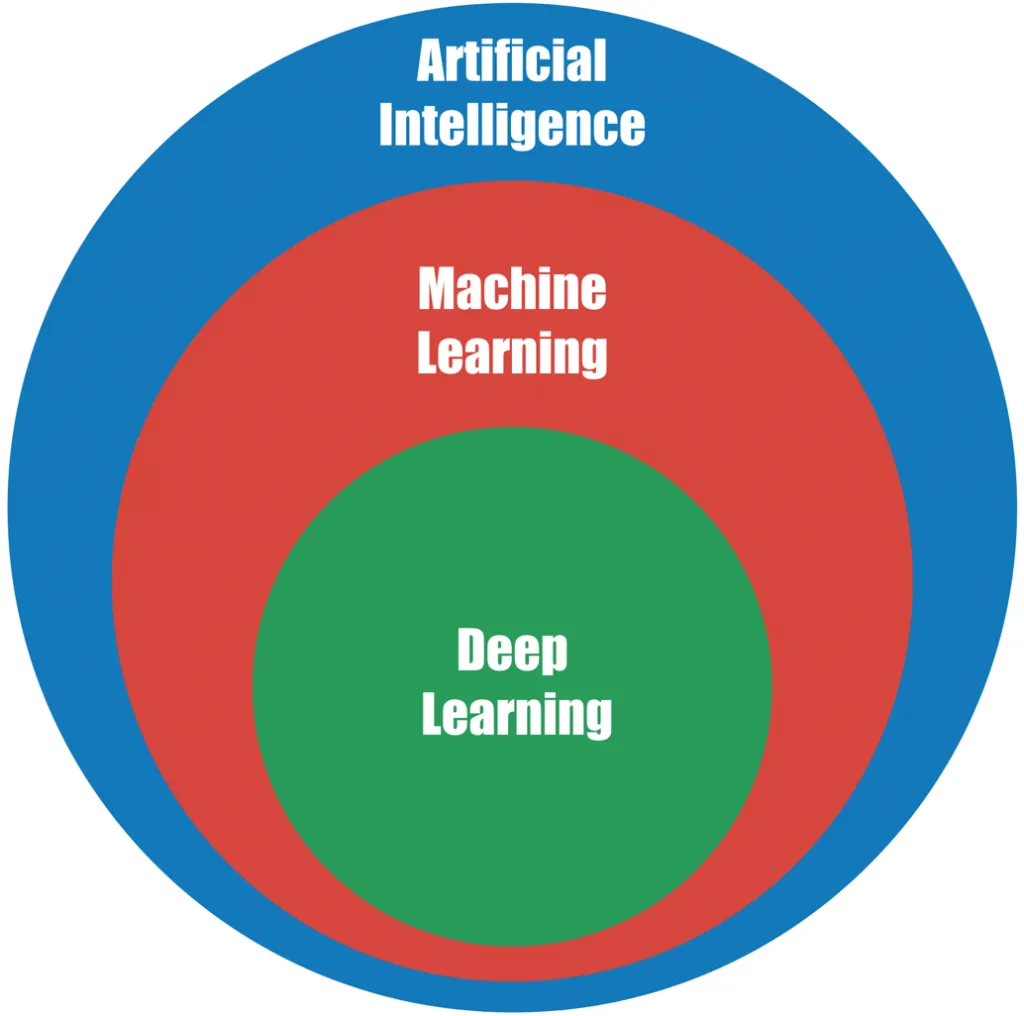
 Machine Learning (ML) gets a lot of press now days and for good reason. It can be used to gain insight into areas that were difficult to tap into even a few years ago. Want to know what type of object is shown in a picture? Machine learning can tell you. Need help predicting the next big stock to buy based on historical trends? Machine learning can help out there as well. The sky is the limit! Machine Learning (and more specifically a technique for implementing it called Deep Learning (DL)) can help analyze financial information, filter spam, examine healthcare records, assess security exploits, perform face recognition, enable driver-less cars, and much more. It’s one of the key drivers moving artificial intelligence (AI) forward.
Although I spend most of my time in the web development arena, I’ve been dedicating a lot of time over the past few months researching machine learning concepts. It’s required me to refresh my linear algebra, matrix operations, and stats knowledge some, but it’s been a fun ride overall. What’s been really fun is researching TensorFlow (an open source machine learning framework) and related frameworks. It’s a big learning curve, but ML/DL frameworks can abstract away a lot of the math and algorithms and let you do some amazing things with a minimal amount of code.
In this post I wanted to show a simple example of getting started with TensorFlow that doesn’t require learning Python or another language AND doesn’t require you to install anything on your machine aside from Docker Community Edition to get started. You’ll of course have to use Python or another language at some point if you write any custom Machine Learning programs, but we won’t worry about that in this post. Since Docker containers are used, once you’re done with the following example you can remove it from your machine instantly. Let’s get started!
Image Identification with TensorFlow and Docker
The general demonstration shown here is covered in several places on the web, but the steps below allow you to try it out quickly and easily using Docker. The goal is to examine a bunch of pictures of flowers to create a training model about the flowers. After doing that you’ll pass a picture of a flower through TensorFlow and it will tell you what type of flower it is based on the training data it was given.
1. Install Docker Community Edition if you don’t have it on your machine already.
2. Run the following command to download the TensorFlow image and run the container:
docker run -it -p 8888:8888 tensorflow/tensorflowNote: Port 8888 is for running TensorFlow programs from Jupyter notebook (a way to share documents with live code included). Although we could use the Tensorflow container directly (via ‘docker exec’) we’re going to leverage Jupyter notebook here).
3. A link will be displayed in the console. Visit http://localhost:8888/?token=
4. Once you’re on the local website select New ==> Terminal from the menu options on the page. A new terminal/console window will load.
5. Enter the following commands in the console to install Git and Nano. You’ll be prompted to continue a few times so select “enter” or “yes” as appropriate.
add-apt-repository ppa:git-core/ppa
apt update
apt install git nano
6. Clone the following TensorFlow repository by running the following command:
git clone https://github.com/googlecodelabs/tensorflow-for-poets-2This will provide the scripts needed to train the model so that we can identify what’s in a picture.
7. Move into the new tensorflow-for-poets-2 folder:
cd tensorflow-for-poets-28. Type the ls command in the terminal window to list what’s in the folder. Note that there are scripts and ts_files folders.

9. Download some training images and place them in the tensorflow-for-poets-2 folder by running the following command (make sure you copy the entire command…you might have to scroll right to see it all). These images are provided by the TensorFlow project and include images of various flowers.
curl http://download.tensorflow.org/example_images/flower_photos.tgz | tar xz -C tf_files10. Run the following command to start the training process (ensure that you copy the full command text). This will take awhile to run while all of the images are analyzed so feel free to go grab a snack while it’s running.
python scripts/retrain.py --bottleneck_dir=tf_files/bottlenecks --how_many_training_steps 500 --model_dir=tf_files/inception --output_graph=tf_files/retrained_graph.pb --output_labels=tf_files/retrained_labels.txt --image_dir tf_files/flower_photos11. Run the following command to create a new python file:
touch classify_image.py12. Open the file in Nano (or another terminal editor if you have a preference):
nano classify_image.py13. Run the following curl command to copy a python script onto the machine that will allow us to compare an image to the trained model:
curl https://gist.githubusercontent.com/DanWahlin/2b0186897e8e5ab7be17c0d8ca86b569/raw/4d47eccb47c386814dfe1e387c81de9afaad6585/classify_image.py -O14. Run classify_image.py and pass it an image that you’d like to identify (I passed it an existing rose image):
python classify_image.py tf_files/flower_photos/roses/17051448596_69348f7fce_m.jpg
15. Once it’s done you should see information about what the image is:

In this example it detected a rose (which is correct) with 82% accuracy. With additional training images the accuracy goes up.
16. Close the Jupyter notebook webpage.
17. Stop the container by pressing CTRL + C.
18. To remove the container first run the following command to get the container ID:
docker ps
19. Now remove the container by passing the first few characters of the ID to the following command:
docker rm [container_id]20. Now remove the TensorFlow image by first locating the ID:
docker images
21. Remove the image using the following command and everything is now gone from you machine!
docker rmi [image_id]Summary
This simple example only scratches the surface of what Machine Learning can do but provides a fairly straightforward example of getting started. While this type of Machine Learning can be done more easily using some of the Machine Learning cloud services available (such as Azure’s Cognitive Services, Google Cloud’s AutoML, and Amazon’s Rekognition to name a few), I always enjoy learning more about how a process works before jumping into other options.
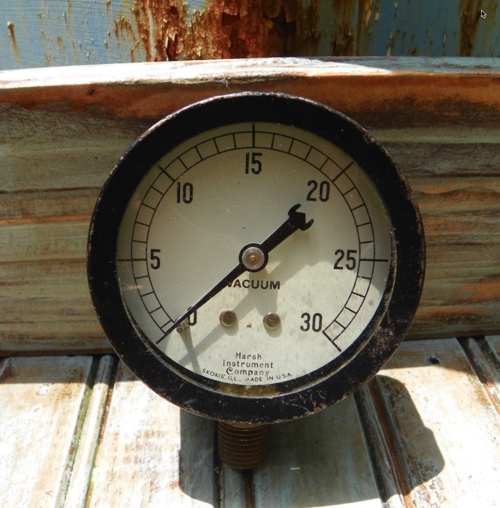 While you may not be interested in classifying flowers (unless that’s your thing :-)), there are a lot of great uses for image classification that can help with automation. For example, I’ve seen an example of an app that can convert pictures taken from industrial gauges out in the field into actual numbers that are reported on a dashboard without installing any new equipment (aside from a camera that points at the gauges of course). Images from the field are run through an ML process that then converts the gauge positions to numbers. It’s amazingly powerful and as mentioned…the sky’s the limit!
If you’re interested in learning more about Machine Learning and AI, check out the new Flipboard Magazine I started (it’s free to access). As I find new articles on the subject I add them to the magazine.