In this post, I’m going to walk you through the process of getting started with adding voice calling into your apps using Azure Communication Services (ACS). If you haven’t read my previous post or watched my video on “What is Azure Communication Services?” I’d recommend doing that first so that you understand what ACS is all about and the key features it offers.
In a nutshell, ACS allows you to add voice, video, chat, SMS, and other telephony features into your applications. It can be used in web apps, desktop apps, or mobile apps.
The ACS docs have a Calling QuickStart available that helps get you started which is what I’ll focus on here. Ensure that you have the pre-reqs listed in the Calling QuickStart ready to go:
- An Azure account with an active subscription. Create an account for free.
- Node.js Active LTS version.
- An active Communication Services resource (more on this below). Create a Communication Services resource.
- A User Access Token to instantiate the call client (more on this below). Learn how to create and manage user access tokens.
Step 1: Clone the Calling QuickStart Repo
The Calling QuickStart has you create all of the code from scratch including getting an access token. If you want to save time, I have a Github project that has all of the tasks already completed. You can clone this repo (or download and extract the .zip) to get the project on your machine. The steps that follow assume that you’re working with the code from the cloned repo but follow the approach shown in the Calling QuickStart.
Step 2: Create an ACS Resource in Azure
The first thing that the pre-reqs require is to create an ACS resource in the Azure Portal (note that the Azure CLI can also be used). To create the resource, login to the Azure Portal, click on Create a resource, and then search for “communication”. You should see Communication Services show up. Select it and then select the Create button.
Creating an ACS resource in the portal is straightforward and quick. You do the following:
- Select an Azure subscription
- Select a resource group
- Enter a resource name
- Select your data location
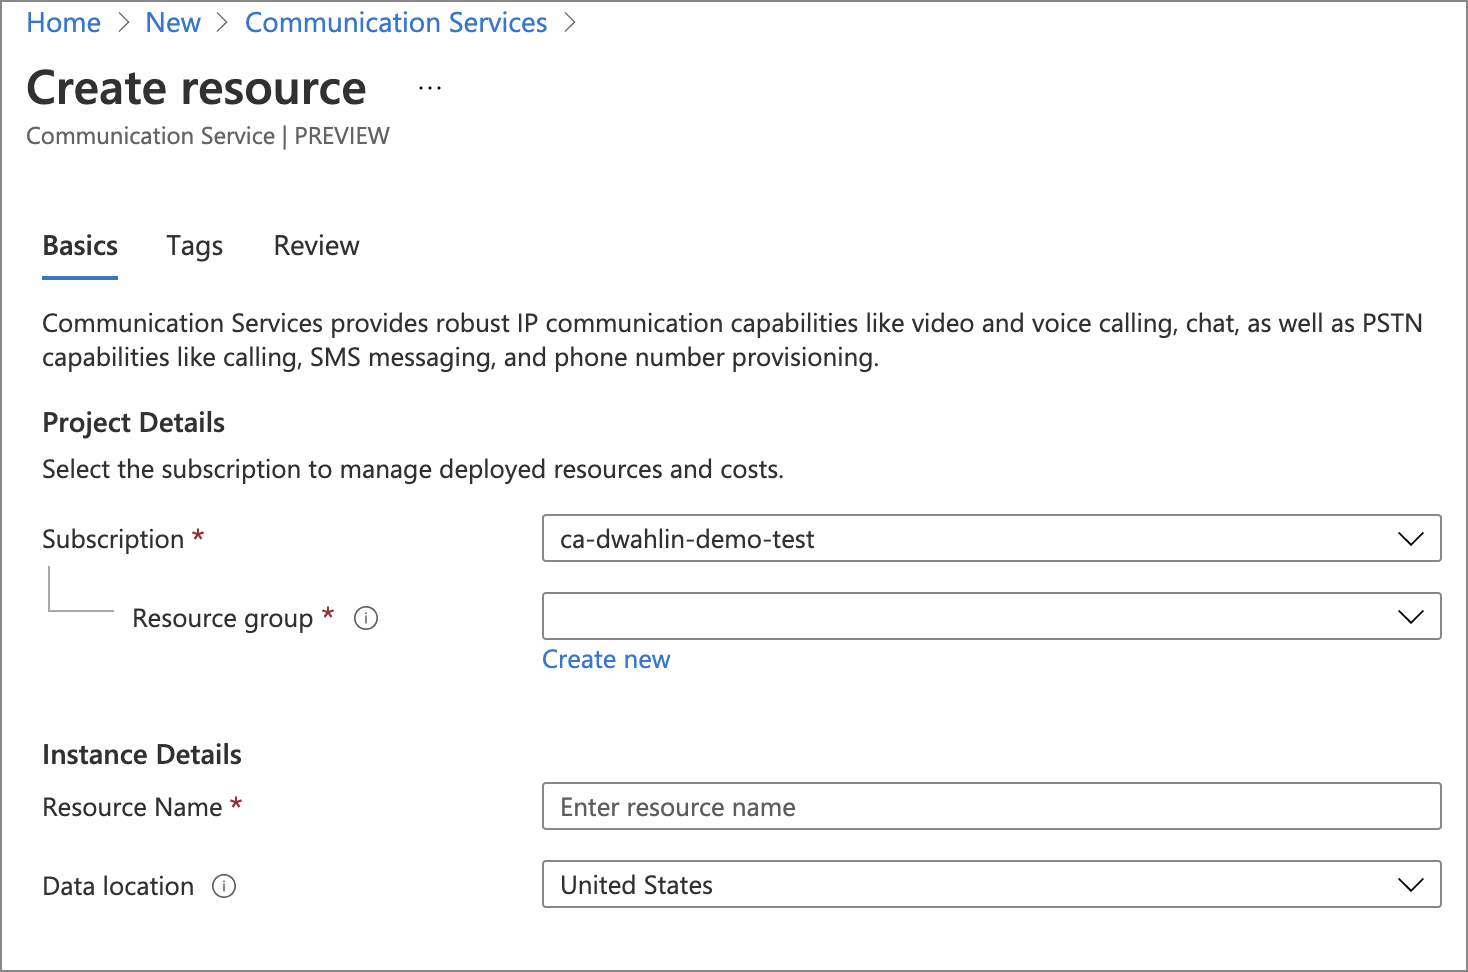
Once you’ve done that select the Review + Create button followed by Create. Simple right!?
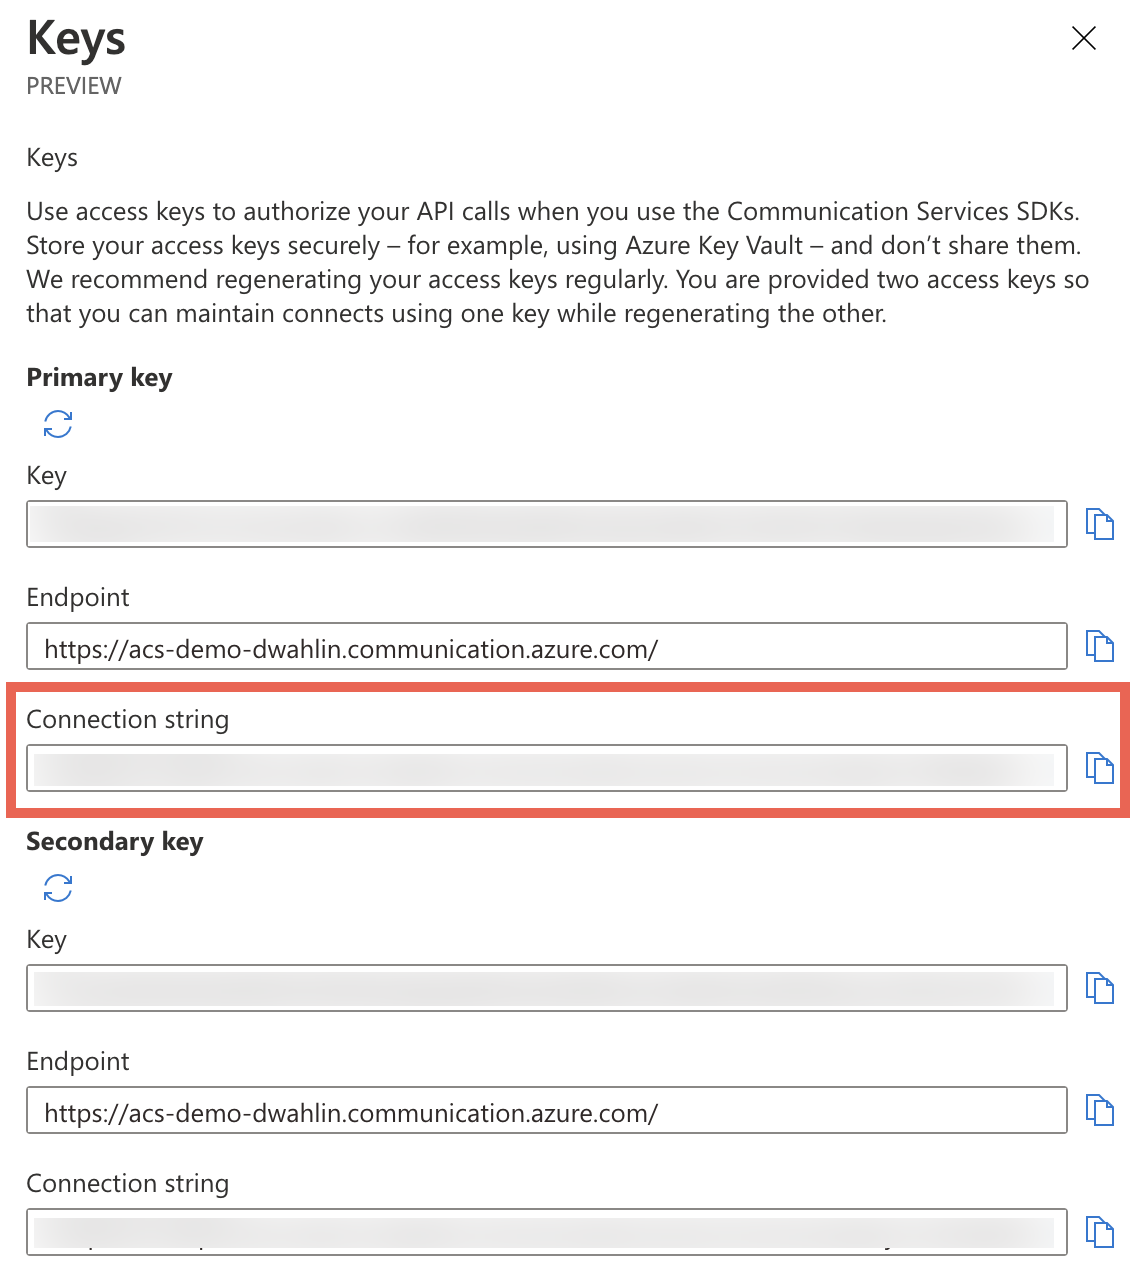
After creating the ACS resource you’ll notice a View and generate access keys section on the Overview page.
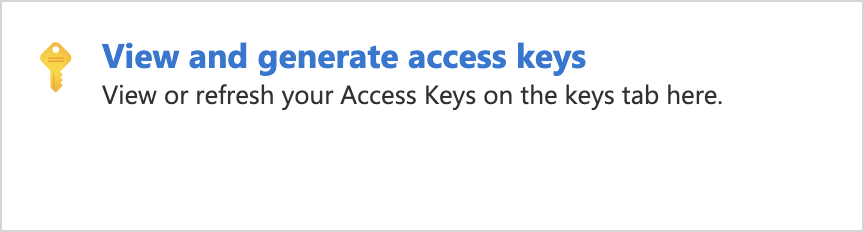
Select that and you’ll be taken to a page where you can get information about a connection string. Locate the first connection string shown and copy it to your clipboard. You’ll need it later.
Step 3: Install Packages
The next part of the Calling QuickStart has you create the project folder, add npm packages, and more. If you cloned the repo mentioned earlier you can open a command prompt at the root of the project and run npm install. Note that the README.md file in the project has this and other steps but I’ll include them in this post as well.
Open package.json and notice that it includes several ACS packages in the dependencies:
"dependencies": {
  "@azure/communication-calling": "...",
  "@azure/communication-common": "...",
  "@azure/communication-identity": "..."
},
Step 4: Add the ACS Connection String to an .env File
Create a new file named .env in the root of your project. Update it with the following information:
CONNECTION_STRING=<your_acs_connection_string_goes_here>Ensure that you replace <your_acs_connection_string_goes_here> with the actual ACS connection string you copied earlier in the Azure Portal.
Step 5: Explore the index.html and client.js Files
The Calling QuickStart has you create an index.html file and add some basic HTML code into it. You can open the index.html file in the Github project to look at it. Notice that there’s an input that is used to collect the “callee” information (the person you want to voice call) as well a two buttons to start a call and hangup on a call.
<input
id="callee-id-input"
type="text"
placeholder="Who would you like to call? (use 8:echo123)"
style="margin-bottom:1em; width: 300px;"
/>
<div>
<button id="call-button" type="button" disabled="true">
Start Call
</button>
<button id="hang-up-button" type="button" disabled="true">
Hang Up
</button>
</div>The next file to look at is client.js. Open it and notice that it imports a few ACS symbols at the top. This file does the following in the init() function:
- Creates an ACS CallClient object.
- Creates an AzureCommunicationTokenCredential that will be used to securely communicate with ACS using a token.
- Creates a callAgent object that handles making the call. Notice that the token is passed to the code that creates callAgent.
async function init() {
    const callClient = new CallClient();
    const tokenCredential = new AzureCommunicationTokenCredential("<your_access_token>");
    callAgent = await callClient.createCallAgent(tokenCredential);
    callButton.disabled = false;
}
Looking down further in the code you’ll notice that two event listeners are defined that attach to the buttons shown in index.html. They handle starting a call and hanging up on a call:
callButton.addEventListener("click", () => {
    // start a call
    const userToCall = calleeInput.value;
    call = callAgent.startCall(
        [{ communicationUserId: userToCall }],
        {}
    );
    // toggle button states
    hangUpButton.disabled = false;
    callButton.disabled = true;
});

hangUpButton.addEventListener("click", () => {
    // end the current call
    call.hangUp({ forEveryone: true });

    // toggle button states
    hangUpButton.disabled = true;
    callButton.disabled = false;
});
Step 6: Get an Access Token
The Calling QuickStart provides a link to a document that has steps for adding code to create an access token. To save on time, the Github project includes an issue-access-token.js script that will handle this task for you. It uses the ACS connection string from the .env file you created earlier to retrieve an access token from ACS. Note that the token it generates is a one-time use access token so if you run the application and refresh the page later you’ll have to get a new token.
To get a new access token, open a command prompt at the root of the project and run the following command:
node issue-access-token.jsAfter running the command a token will be written out to the console. Copy the token to your clipboard, open client.js, and replace <your_access_token> with the value of the token.
NOTE: Normally your app will call into a custom backend API to retrieve the access token. In an effort to keep things as simple as possible the Calling QuickStart has you manually generate the token and then copy/paste it into the client.js code. If you’d like to see an example that has the backend API visit the Calling Hero Demo on Github. You’ll find the code in the Calling/Controllers/UserTokenController.cs file.
Step 7: Make a Call
Once you have a token, you can start the app and make a voice call. Run the following command from the root of the project:
npx webpack-dev-serverOnce the webpack server starts and the bundles are built you can visit http://localhost:8080 in the browser.
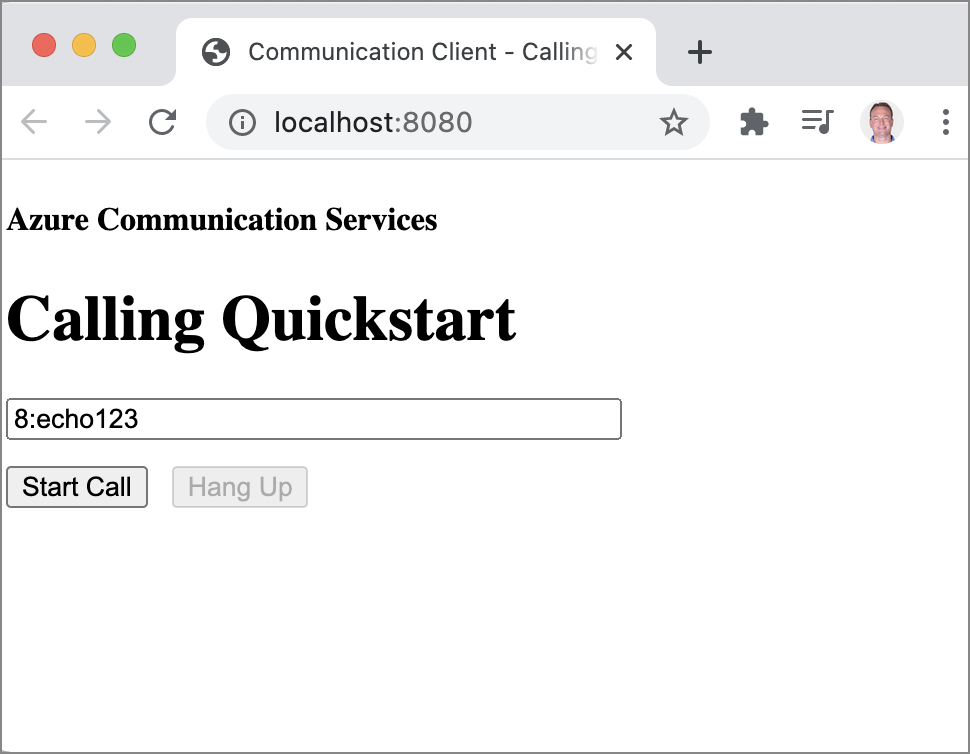
Enter 8:echo123 in the textbox and start the call. A bot will answer and tell you to record a message. After the beep, say whatever you’d like and once it’s done recording your message will be played back to you. Hangup on the call whenever you’re done.
Go back to your command prompt and press CTRL+c to stop the webpack dev server.
Conclusion
You can see that initiating a voice call using Azure Communication Services is a fairly straightforward process. Although you only talked to a bot, if you had the “communication ID” for an actual user you could talk to them as well with a little more work. Check out the ACS Github repo for additional demos of calling and the ACS docs for more information.
You can watch a video walkthrough I created of the Calling QuickStart below: