
Observable Store now supports extensions! These can be added when the application first loads by calling ObservableStore.addExtension().
The first built-in extension adds Redux DevTools integration into applications that use Observable Store. The extension can be found in the @codewithdan/observable-store-extensions package.
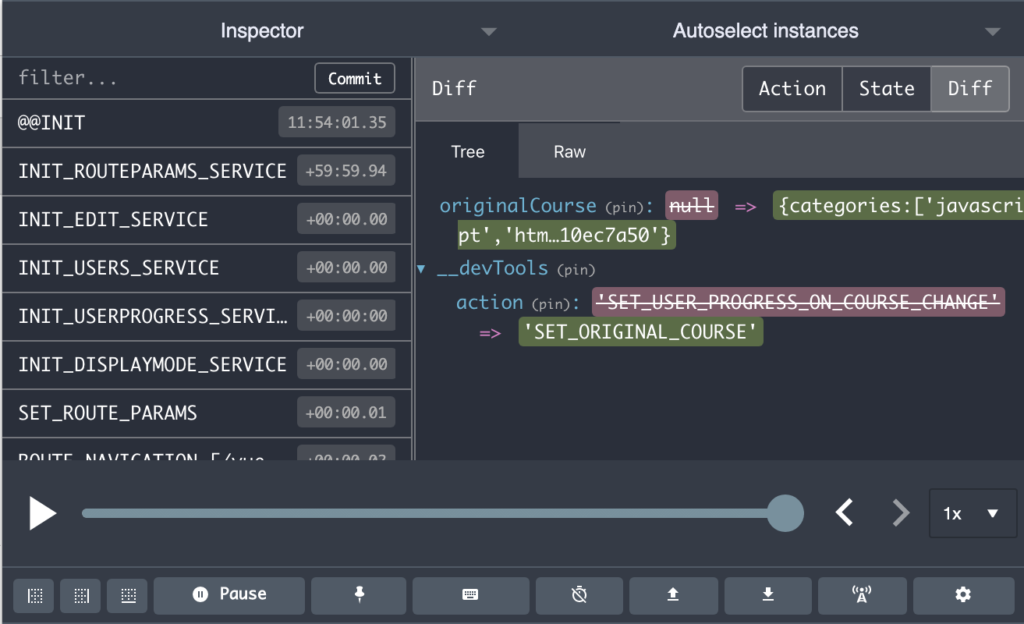
If you’re new to the Redux DevTools, they can be used to “time travel” through your application to see what happened at particular times. This feature is extremely useful when you’re trying to track down a problem or simply want to see what state flows through your application. You can get more details on the various Redux DevTools extension features here.
Currently Observable Store extensions provides Redux DevTools support for Angular and React applications. Here’s a walk-through of enabling support for both of these options.
Integrating Angular with the Redux DevTools
The first thing you’ll need to do is install the Observable Store extensions package. This assumes that you’ve already installed the Observable Store package and have it added into your app.
npm install @codewithdan/observable-store-extensionsOnce the package is installed, add the following into main.ts and ensure that you set trackStateHistory to true:
import { ObservableStore } from '@codewithdan/observable-store';
import { ReduxDevToolsExtension } from '@codewithdan/observable-store-extensions';

...

ObservableStore.globalSettings = {
    trackStateHistory: true
};
ObservableStore.addExtension(new ReduxDevToolsExtension());
Now install the Redux DevTools Extension in your browser, run your Angular application, and open the Redux DevTools extension. Your store state will now be shown and you can use the time travel functionality provided by Redux DevTools as well as the other functionality.
Integrating React with the Redux DevTools
Get started by installing the Observable Store extensions package. This assumes that you’ve already installed the Observable Store package and have it added into your app.
npm install @codewithdan/observable-store-extensionsNow add the history prop to your route (note that Observable Store works with react-router):
import React from 'react';
import { Router, Route, Redirect } from 'react-router-dom';
import { createBrowserHistory } from 'history';|

export const history = createBrowserHistory();

...

const Routes = () => (
  <Router history={history}>
    <div>
       <!-- Routes go here -->
    </div>
  </Router>
);

export default Routes;
Add the following into index.js and ensure that you set trackStateHistory to true and pass the history object into the ReduxDevToolsExtension constructor as shown:
import Routes, { history } from './Routes';
import { ObservableStore } from '@codewithdan/observable-store';
import { ReduxDevToolsExtension } from '@codewithdan/observable-store-extensions';

...

ObservableStore.globalSettings = {
    trackStateHistory: true
};
ObservableStore.addExtension(new ReduxDevToolsExtension({
    reactRouterHistory: history
}));

ReactDOM.render(<Routes />, document.getElementById('root'));
Now install the Redux DevTools Extension in your browser, run your React application, and open the Redux DevTools extension. Your store state will now be shown and you can use the time travel functionality provided by Redux DevTools as well as the other functionality.
Summary
I’ve found the addition of the Redux DevTools extension into my workflow to be very useful for watching how state changes in an application, jumping to a particular point in time to fix a bug, and for other scenarios. If you’re already using Observable Store with Angular or React I hope you’ll find the new functionality useful as well.