
You know that feeling when you’re waiting for your AI agent to finish a task and you’ve got nothing to do but stare at the terminal? If you’re like me, you then jump to yet another agent you have running, interact with it if needed, and then stare at the terminal some more. I spend a lot of my day working with GitHub Copilot CLI and other AI coding tools, and there are stretches where you’re just…waiting. I had seen a few ideas shared online and a recent one by Aman really caught my attention. I wanted something that could run on Mac, Linux, and Windows (and had some other games in mind), so I thought, “What if I tried building a little retro arcade game that ran as a transparent overlay right on my desktop?”. That way I could quickly switch to it between tasks, give my mind a short break, while still staying on top of what my agents are doing.
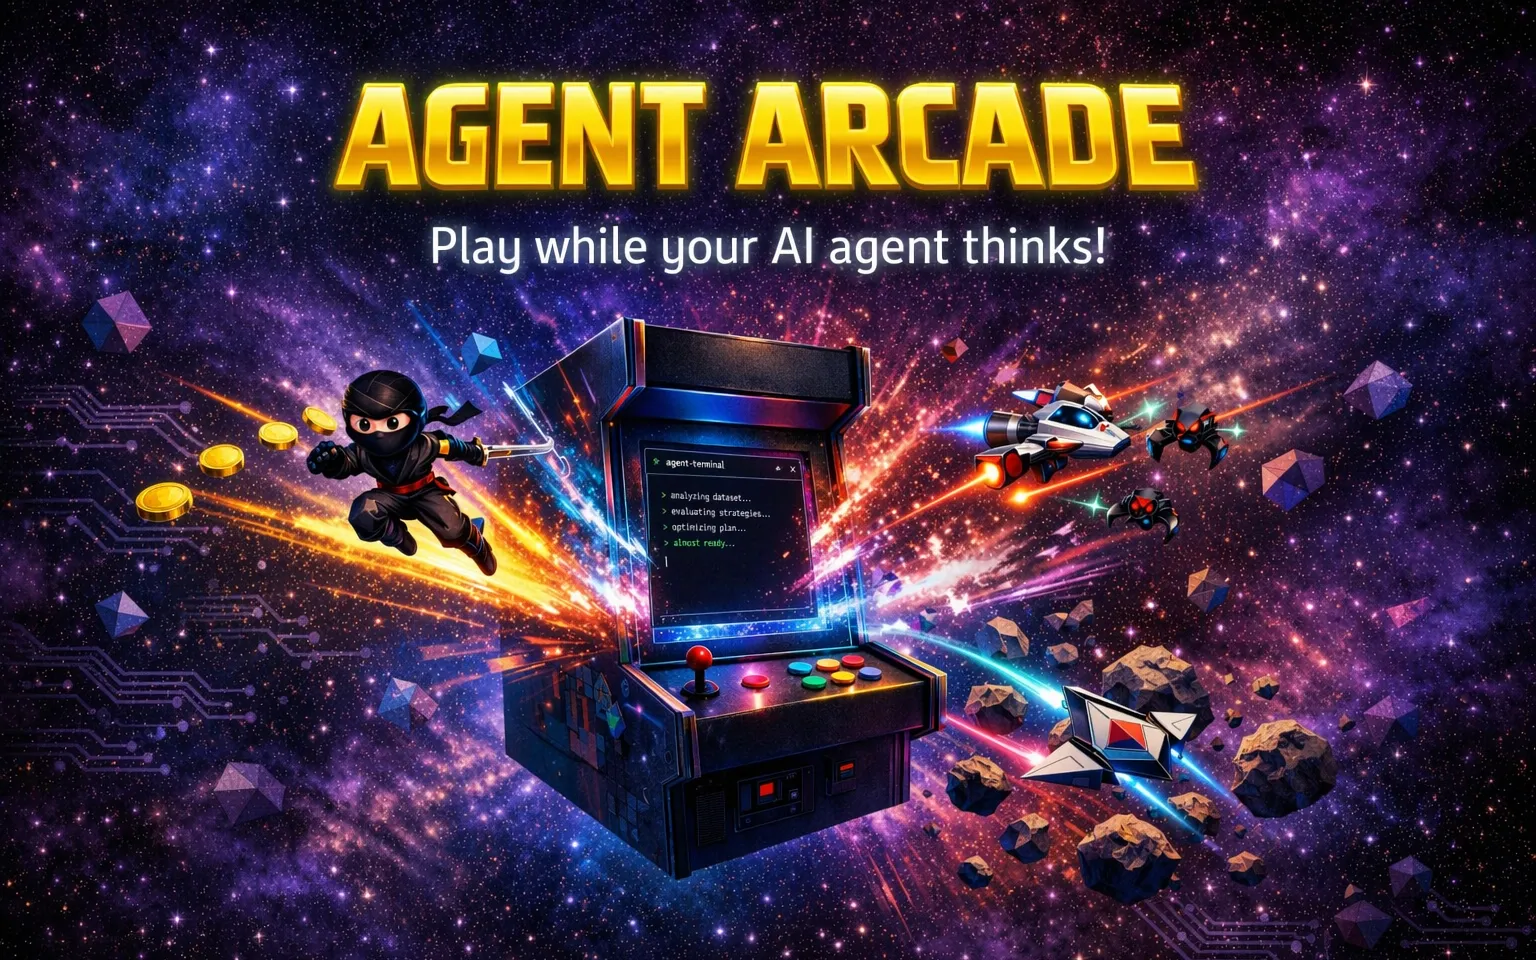
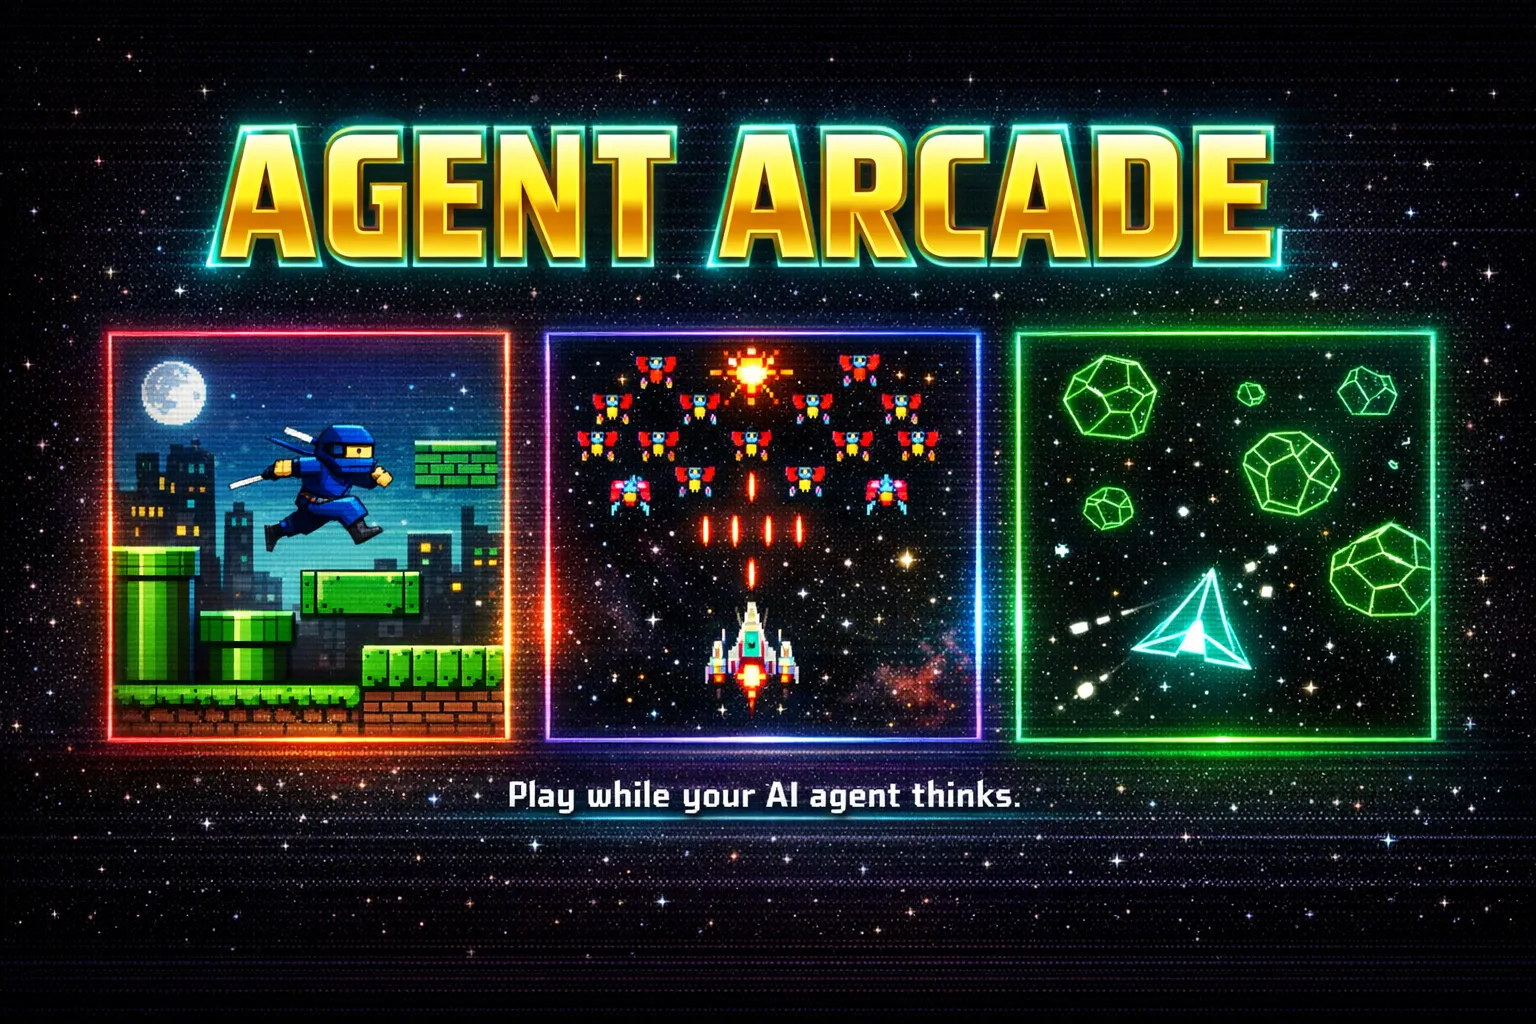
That idea became Agent Arcade, a Tauri + Phaser + Rust/TypeScript app that currently has three games (Ninja Runner, Galaxy Shooter, and Cosmic Rocks) that floats on top of everything while your AI agents do their work. I built the app over a weekend using GitHub Copilot CLI, and honestly, I had a ton of fun doing it.
While Agent Arcade is still a work in progress, I thought I’d walk through how it was created and some of the lessons learned along the way.
Part 1: The Agent Arcade App
From Electron to Tauri
The first version used Electron. It was the natural choice for a transparent desktop overlay that worked cross-OS. The setIgnoreMouseEvents(true, { forward: true }) function gave me exactly what I needed. Clicks passed through the transparent areas to apps underneath, keyboard events still reached the game, and everything worked.
Once I had it running, I wanted to see if I could get the same result with a smaller footprint. Tauri is a Rust-powered alternative with a fraction of the binary size, so I asked Copilot CLI to investigate Tauri v2 and plan the migration.
The migration itself was surprisingly smooth. Copilot CLI scaffolded the entire src-tauri/ directory, wrote the Rust backend (main.rs, lib.rs), configured the Tauri plugins, and updated the frontend bridge. Where Electron had ipcMain/ipcRenderer, Tauri uses invoke and event emitters. Copilot CLI handled that mapping and had a working build within a single session.
The interesting challenge? Click-through.
Making click-through work
Electron’s setIgnoreMouseEvents(true, { forward: true }) is deceptively powerful. It passes mouse events through transparent pixels while keeping keyboard input active. Tauri’s set_ignore_cursor_events is all-or-nothing (at least from what I could find). Mouse events are either completely ignored or completely captured. No forwarding.
This turned into one of the more interesting problem-solving sessions of the weekend. When the game was running, click-through needed to be ON so you could use apps underneath. But when you hit Escape to pause, you needed to interact with the HUD overlay (play button, game switcher, close button). Copilot CLI and I explored several approaches:
- Disabling click-through when paused, which blocked all interaction with apps behind the overlay
- A global Escape shortcut for unpausing, but macOS ate the keypress before it reached the app
- The
rdevcrate for global input events, which crashed on macOS due to CGEventTap conflicts with Tauri’s run loop - Hiding the window when paused, which worked but felt janky
The solution that stuck? A combination: normal keydown for pausing (works when the game has focus), a global shortcut for unpausing (works at the OS level), and resizing the window to just the HUD bar when paused so there’s no full-screen overlay blocking your other apps. It took probably 20+ back-and-forth turns with Copilot CLI to land on this, but the final result works reliably across macOS, Windows, and Linux.
To pause it, you can press the escape key and only the HUD overlay will be interactive. That way you can get back to your AI agents without the game blocking them.

Press escape again and the game will unpause, returning to full-screen overlay mode so you can continue playing.

Building the games
Each game had its own build story.
Ninja Runner was the first game I tackled. Since I work on Mac, Linux, and Windows I wanted something that could work everywhere, and I envisioned a few additional games in addition to a Mario-style platformer game. I told Copilot CLI the overall concept and it built out procedural level generation: platforms, pipes (with a fun parachute/flying aspect for one of the pipes), coins, enemies, water gaps, collapsible bridges, spikes, and more.
I’d screenshot something that didn’t look right, paste it into the conversation, and say “the coins shouldn’t be placed in front of a pipe” or “the water needs to be lower.” Screenshot, describe, fix, test. That was the loop for part of the weekend. Because Nintendo obviously has strict rules on using their intellectual property, I used free assets I found (I did send some money to support the artist) from JuhoSprite on itch.io.

Note: Having the Context7 MCP server available was super helpful to help Copilot CLI understand Phaser and Tauri. A lot of the issues I ran into were quickly resolved with the docs context provided by the MCP server.
Galaxy Shooter went through the biggest evolution. The first version had basic enemy movement, and I wanted it to feel more like the real Galaga game. I pointed Copilot CLI at WesleyEdwards/galaga and said “make it play like this.” Since Phaser is used with the other two games I wanted to go that route, but I kept running into issues with the enemy ship movements. I suspect it’s totally doable with Phaser, but after enough rounds of troubleshooting I decided to try a different approach.
That triggered a full rewrite: distance-based path following instead of frame-based animation, five enemy states (entrance, stationary, breathe-in, breathe-out, attack), formation drift patterns, and Bézier curve attack paths. I even recorded a gameplay video of the reference and had Copilot CLI extract frames to analyze the mechanics. It took several rounds of tuning (“the ships dive too fast”, “the formation is too low”) before it felt right, but I’m happy with where it landed. I found a great sprite sheet from Kenney (he has a lot of fantastic game assets) that worked well for the enemy ships.
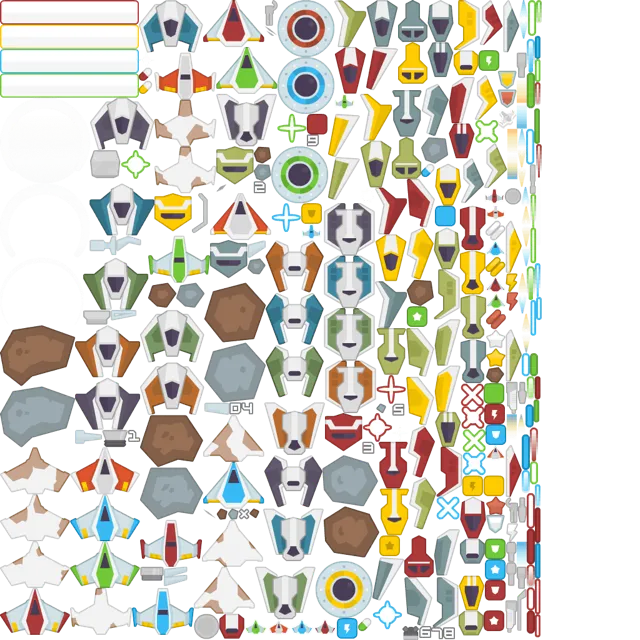
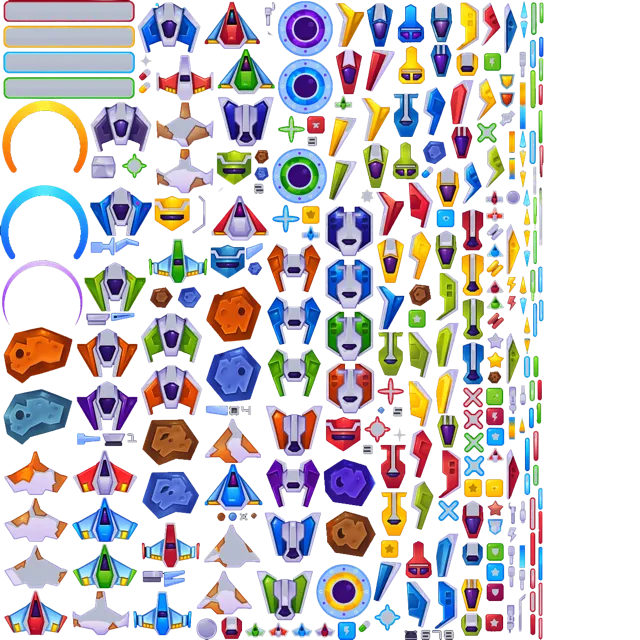
I wanted the ships to have a little more color since the game runs transparently on a desktop and everything needs to stand out more, so I ran the sprites through the gpt-1.5-image model on Microsoft Foundry and after some back and forth settled on this version:
Here’s the game in action:

Cosmic Rocks came together fast. The Asteroids formula is well-known: rotate, thrust, wrap-around screen edges, split rocks on hit. I pulled in explosion sounds from the Galaxy Shooter session and shared them across both games. Since these games run transparently on a desktop, adding some “glow” to the rocks helped them stand out more.

Cleaning things up
As the project grew, I asked Copilot CLI to audit the assets/ folder. It found unused sprites and some that I couldn’t legally use (I experimented with a lot of options) and cleaned all of that up. It then reorganized assets into game-specific subfolders (ninja-runner, galaxy-shooter, cosmic-rocks) and updated all the import paths automatically.
The src/ folder got a similar treatment. What started as src/main and src/renderer with Electron became src-tauri (Tauri main process since it’s in Rust) and src/game (Phaser scenes, HUD, bridge code). Copilot CLI updated every file reference, tsconfig path, and build script in one pass. Keep in mind I’ve never programmed in Rust before, so it was great having Copilot CLI handle all of that for me.
Part 2: The Website
Designing with Multiple Models
For the website, I tried something different. I used multiple AI models to compare approaches. Model choice is one of my favorite Copilot CLI features. The session ran primarily on Claude Opus 4.6, but I also pulled in GPT 5.4 for design feedback. I’d describe what I wanted (“a GitHub Pages website based on the look and feel of the banner image”) and compare how different models interpreted the deep-space arcade aesthetic.
The app and website were built across multiple Copilot CLI sessions over about 20 hours of elapsed time (not continuous of course, I’d work on it, step away and do something with the family, and come back). It started from a rough prompt: “Create a GitHub Pages website that matches the agent-arcade-banner-v3.png image. Same info as the README but make it look amazingly awesome.”
From there it was pure iteration:
- “The navbar isn’t working at all” → turns out the CSS and JS were never added
- “Hard to read the Download text” → contrast fix on the gold gradient
- “Make the image go full width” → banner bar with drop-shadow
- “This is too busy, kind of messy” → cleaned up after I pasted a screenshot
- “When I mouse over Download it completely goes away” → hover style override bug
Every issue followed the same pattern. Screenshot pasted into the conversation, a sentence or two about the problem, and Copilot CLI would find the CSS and fix it. By the end I had a single-page site with a starfield background, gold metallic titles, game cards, and a responsive navbar that actually worked. Creating the site this way was incredibly fast and efficient. All told, it probably took less than 2 hours of actual planning, coding, and modifying time spread over the 20-hour period.
CI/CD: Ship It
Two GitHub Actions workflows handle the deployment side:
Build & Release triggers on v* tags. It builds across macOS (universal binary for Apple Silicon + Intel), Windows (MSI), and Linux (AppImage + .deb) using the tauri-apps/tauri-action. Artifacts upload, and a release job creates a GitHub Release with download instructions for each platform, including the xattr workaround for unsigned macOS apps.
Note: The Mac/Linux/Windows apps aren’t signed, so I added instructions for people to bypass the security warnings when running the apps. It can be run by cloning the repo and running it directly as well of course.
Deploy Pages auto-deploys whenever files in docs/ change on main. Edit the website, commit, push, and it’s live.
Both workflows were written by Copilot CLI. The build workflow needed a few iterations to get right. The Windows build needed a properly formatted .ico file, and the initial version still referenced Electron’s build commands rather than Tauri’s. I pointed Copilot CLI at the GitHub Actions logs directly and it identified and applied the fixes.
What I Learned
A few takeaways from this project.
-
Including screenshots in prompts is incredibly helpful for this type of app (no surprise there if you work with AI coding agents a lot). Pasting an image and saying “this is wrong, the ninja block is misaligned” is faster and more precise than trying to describe a visual bug in words. I used this constantly for the games and the website.
-
Sessions matter. Copilot CLI remembers context within a conversation, so I could say “the same issue from earlier” and it knew what I meant. That saved a lot of re-explaining. But, having too much context especially about different features can make things worse. The
/clearand/newcommands are your friend. -
Know when to try a different approach. When the click-through approach wasn’t working after many attempts, switching to a completely different UX (resize-on-pause) solved it in one turn. Pivoting earlier can save you time. Take the time to experiment with different solutions before getting too deep into one approach.
-
Multiple models give you options. I used Opus for the deep implementation work and GPT for design perspective. Sometimes the second opinion is what gets you unstuck.
The whole project, three games, a desktop overlay app, a website, and CI/CD for cross-platform releases, came together over a weekend across 430+ conversation turns in 7 Copilot CLI sessions. I focused on what the experience should feel like and Copilot CLI figured out how to make it happen. I even used Copilot CLI to generate the banner art at the top of this post and in the website. I have a custom skill that calls into Microsoft Foundry image models, so I could describe what I wanted and iterate on the artwork without leaving the terminal.
While this is a fun personal project and a work in progress, it demonstrates the power of GitHub Copilot CLI for rapidly iterating on both design and functionality.
Try it yourself: Visit Agent Arcade to download the app or check out the source code and run it directly.
Happy gaming…I mean…coding!
Resources
Find me at:
- Twitter: @danwahlin
- LinkedIn: Dan Wahlin
- GitHub: DanWahlin